

A commercial storefront installation is a project with many moving parts. It starts long before anyone touches glass. And it ends only when the inspector signs off. In this article, we follow a storefront from the first drawing review to the final inspection, so you know what happens at each stage and who is responsible.
Owners, property managers, and general contractors can use this timeline to plan schedules and set clear expectations with their glazing team.

Stage 1: Preconstruction for a Commercial Storefront Installation
Preconstruction is where teams solve most problems cheaply. During this stage, the glazier reviews the drawings, specs, and site conditions. Then they flag anything unclear or in conflict.
Typical questions at this point include:
- Do the openings match across plans, elevations, and details?
- Which wind loads and energy targets apply?
- Who provides the door hardware, and to what spec?
- How will the storefront tie into the wall and roof flashing?
- Are there long-lead items like special glass or finishes?
Answering these early prevents change orders later. In fact, a short preconstruction meeting can save weeks on site. If you need help at this stage, our Division 08 glazing team often joins projects during design.
Stage 2: Bidding and Contract Scope
Next, the glazier prices the work. A good bid lists exactly what it includes and what it leaves out. That way, nothing falls between trades.
In particular, watch these scope items:
- Perimeter sealant at the building joint
- Sill flashing and end dams
- Steel support or blocking
- Door hardware and access control prep
- Field water testing
- Final glass cleaning
Once the scope is clear, both sides sign the contract and set the schedule. From there, the team moves into submittals.
Stage 3: Submittals and Approvals
Before the shop builds anything, the glazier submits shop drawings, product data, and samples. The architect checks them against the design. Sometimes the drawings come back with comments. If so, the glazier revises and resubmits.
This stage can take several weeks. Therefore, submit early and respond to comments quickly. Every week of delay here can push back the whole commercial storefront installation.
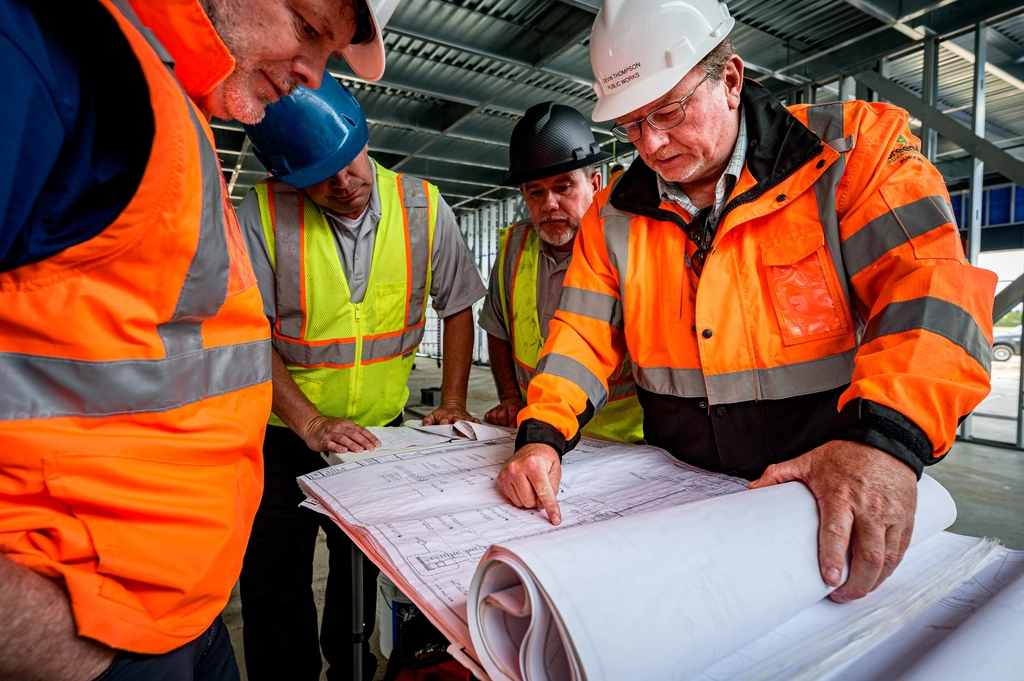
Stage 4: Field Measure and Fabrication
After approval, the crew visits the site to measure each opening. They only measure once the walls, slab, and structure are final. Otherwise, the frames may not fit.
With field sizes in hand, the shop cuts and preps the aluminum. At the same time, the glass supplier builds the insulated units. Lead times vary. Still, glass and hardware often take longer than the frames.
Meanwhile, the general contractor keeps the site moving. They finish the substrate, install air and water barriers, and prepare access for lifts and glass carts.
Stage 5: The Commercial Storefront Installation Itself
Now the visible work begins. A typical commercial storefront installation follows this order on site:
- Install sill flashing with end dams.
- Set the frames on shims and anchor them.
- Install glass with setting blocks and gaskets.
- Hang doors and install the hardware.
- Seal the perimeter joints.
- Adjust doors and closers.
Each step depends on the last. For example, the crew cannot seal the perimeter until the frame is anchored and the wall finish is in place. So coordination with other trades is key.
Stage 6: Quality Control and Testing
Before calling it done, a careful glazier checks their own work. They look at sight lines, gasket fit, and door function. Many projects also require a field water test on a sample area.
In a water test, a technician sprays the frame at a set rate. Meanwhile, an observer inside watches for leaks. If water gets through, the crew finds the source and fixes it. Then they test again. Standards from ASTM International guide how these tests are done.

Stage 7: Punch List and Cleanup
Next comes the punch list. The architect, owner, and builder walk the storefront together. They note scratches, loose stops, sealant gaps, and door issues. Then the glazier fixes each item.
Afterward, the crew removes labels and cleans the glass. They also hand over warranties, maintenance notes, and any spare parts. Keep these documents in a safe place, because you will need them later.
Stage 8: Final Inspection
Finally, the building inspector visits. For a commercial storefront installation, the inspector usually checks:
- Safety glass labels where required
- Door width, swing, and hardware
- Panic devices and exit signs
- Threshold height for accessibility
- Match between the work and the approved plans
If all goes well, the storefront passes and the space moves closer to occupancy. If not, the crew corrects the items and schedules a re-inspection.
Who Does What During a Commercial Storefront Installation
Clear roles prevent finger-pointing. Although every contract differs, most projects split the work like this.
- Owner: approves the design, budget, and any changes.
- Architect: designs the front and reviews submittals.
- General contractor: runs the schedule, prepares the openings, and coordinates trades.
- Glazier: engineers, builds, installs, and tests the storefront.
- Hardware supplier: provides locks, closers, and access control parts.
- Inspector: confirms the finished work meets code.
When everyone knows their part, decisions move faster. Moreover, problems reach the right person the first time.
Common Delays and How to Avoid Them
Even well-run jobs hit bumps. Still, most delays come from a short list of causes. Knowing them helps you plan around them.
First, late design decisions stall submittals. To avoid this, lock in frame color, glass type, and hardware early. Second, unready openings stall the field measure. So the builder should finish framing and sheathing before the glazier arrives.
Third, hardware often arrives late. For that reason, order it as soon as the schedule is approved. Finally, failed inspections add days. A quick pre-inspection walk with your glazier can catch small issues before the inspector does.
In short, good communication and early ordering keep a commercial storefront installation on track from start to finish.
How Long Does the Whole Process Take?
Of course, every project is different. However, the full path from preconstruction to final inspection often spans a few months. Most of that time goes to submittals and material lead times. The field work itself is usually much shorter.
To keep things moving, make decisions quickly, approve drawings fast, and keep the site ready for the glazing crew.
Documents to Keep After Closeout
Once the storefront passes, the paperwork still matters. In fact, good records make future repairs faster and cheaper. Ask your glazier for a closeout package that includes:
- Final approved shop drawings
- Product data for frames, glass, sealants, and hardware
- Manufacturer and installer warranties
- Water test reports, if the project required them
- Care and cleaning instructions
- A list of glass makeups by opening
Store a digital copy with your building records. Then, if a lite breaks years from now, your glazier can order the exact match without guesswork. Likewise, a future tenant improvement team will know what is already in the wall.
FAQ on Commercial Storefront Installation
Who schedules the final inspection?
Usually the general contractor or permit holder. The glazier should be ready to attend and fix any items.
Can the commercial storefront installation start before the roof is done?
Sometimes, yet it is risky. Water from above can damage new frames and seals. Most teams wait until the building is dried in.
Partner With an Experienced Team
A smooth project depends on clear scope, early planning, and steady communication. Our crews handle storefronts from the first drawing to the final sign-off. Learn more about our storefront services or request a proposal today.